Galaxy Print French Tip Nail Art Tutorial with Striping Tape
Hey guys! It's almost the New Year, oh how time flies! Today I would like to share with you these galaxy print french tip nails that I did yesterday. I really meant to do this post yesterday as well, but I got caught up making and decorating some gingerbread and ran out of time! Despite it being summer-time here in Australia, it was a terribly cloudy (but hot) day, and I had a really tough time taking my photos.
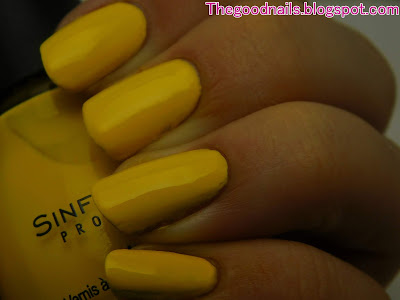
You can conquer the whole galaxy with these nails! The nail polishes that I used for these nails were Revlon Knockout, Savvy by DB Sugar Plum, Sinful Colors Endless Blue and Sally Hansen White Tip.
For these nails you will needs a few different colours of nail polish; black for the base and purple, white and dark blue to form your galaxy. Take a latex-free cosmetics sponge and cut two small pieces off of it, then cut those in half and apply your your white, purple and blue to each of the sponges respectively. Set aside the last sponge for use another time. Now start dabbing the colours onto your black base. Start with two white lines, and then build your galaxy around them using your other colours. To create depth make the colours overlap. Remember to only to do this on the top half of your nail.
Now to complete the galaxy, add a few stars in white nail polish or acrylic paint. I did this using a striper, but a nail art brush will also do fine.
Seal off your galaxy from the rest of your nail using a piece of striping tape. I use cuticle nippers to create a clean edge on the tape and I used the colour pink to give contrast from the design.
To finish off your design add a star shaped stud in the centre of your striping tape. To adhere it, add a spot of top-coat to the back of the star and carefully place it on the nail.
And there we have it! I'm absolutely star-struck, literally! What do you think guys? Are these nails fun? Have you done galaxy nails before? Please let me know what you think down below in the comments and don't forget to share your creations with me on instagram and pinterest using the #goodnails!
May your nails be good, and happy new year, or almost anyway!
Gabby


Comments
Post a Comment