Ombre Snowflake Nail art Tutorial for Christmas
I just love snowflakes for Christmas. They are very wintery and festive and pretty lookin'. Here is my tutorial for ombre snowflake nails!


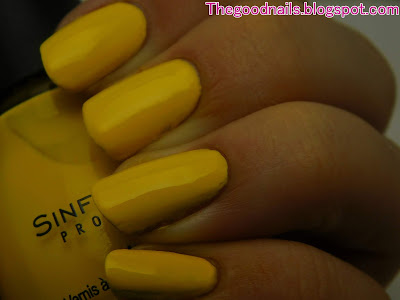
The colour I used as my base was Eat My Dust by Barry M, the white was White Chocolate from Savvy by DB, The pink was Revlon's Sweet Tart and the Yellow was from Maybelline Mini Colorama.

After painting your nails with your base colour, create your snowflakes by drawing an x and putting a line through it.

Add a small line to each of the main lines of your snowflake.

Now, we're gonna dress this snowflake up! Go over one half of your snowflake in a pink nail polish. You may need to do this twice to achieve full opacity.

Go over the over half of the snowflake in yellow to achieve your ombre look.

Whoa! Those there are some fancy snowflakes! I wonder if there are some wild pink and yellow ombre snowflakes in nature? Or maybe they're just native to nail polish land? Please let me know what you think in the comments! I'd love to see your creations, so please share them with me using the #goodnails on Instagram and pinterest!
May your nails be good,
Gabby


Comments
Post a Comment