Marbled Mermaid Scale Nail Art Tutorial using Stamper
Hello there everybody! How's it going? It's summer time right now in Australia and I love to use lot's of bright, happy colours for summertime! I thought a fun look for the summertime would be these bright, eye-catching mermaid scale nails. I used a stamper to create a marbled/gradient effect. I really like that technique because it requires no base colour, dries pretty fast and looks awesome! I believe that the technical term for a manicure that uses a different colour of polish on each nail is called a 'skittle-cure', isn't that just a delicious name? Now, are you ready to get some scales in your nails?
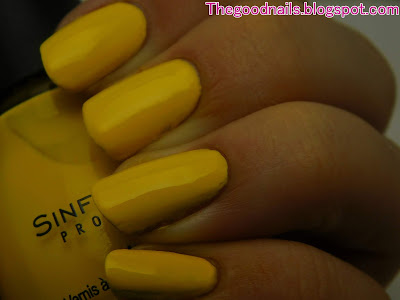
Now, real quick before I take you guys through the process the colours that I used for these nails. These are in colour order starting with the oranges and ending in the blues. Sinful Colors Social Ladder, Red Earth Heat Wave , Rimmel Tangerine Queen, Sinful Colors Yolo Yellow, David Jones Sourise, Sally Hansen Smartease, Rimmel Neon Fest, China Glaze Urban Nights, Revlon Enchanting, Sinful Colors Be Happy and Sportsgirl Nail It! Minty Delight.
If you are happy with the way that the Stamper-Marble effect looks then leave the nail polish to dry, and clean off the excess polish meaning on the stamper by using a piece of sticky tape. If you aren't happy with the loom repeat the above step until you are satisfied. Most of the time, I have to do the Stamper-Marble 2-3 times to be happy with the effect, so don't worry if it's not perfect on the first go! After you have finished and are happy with your Stamper-Marble, take a nail art brush dipped in acetone and clean up any mess around the cuticle and finger area.
Once the nail polish is dry we are going to begin to add the scales. We will be creating the scales using a nail art brush and white nail polish. The scales themselves are quite easy to draw, they are really just semi-circles!
Start drawing the scales at the tip of the nails and continue the pattern down to the end of the nail.
May your nails be good, my friends!
Gabby


Comments
Post a Comment